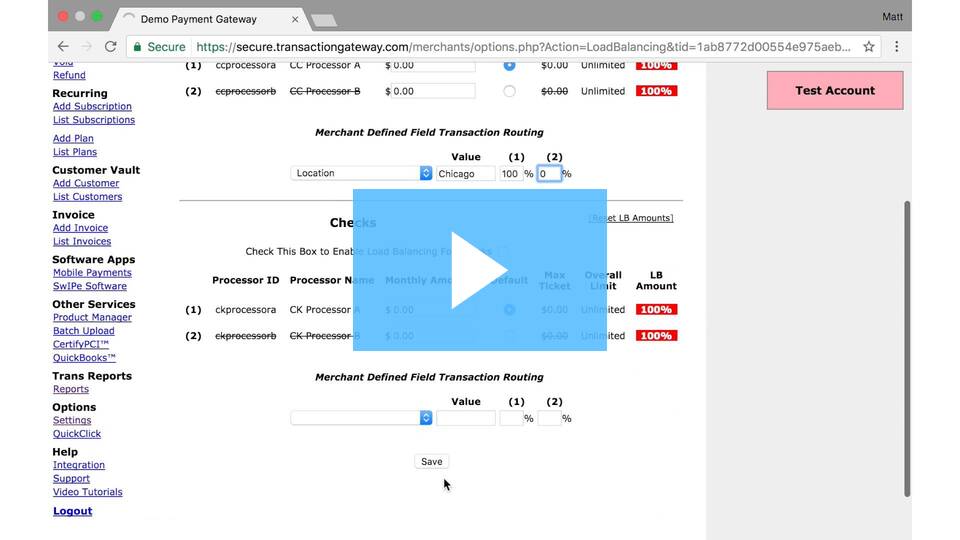
Advance Load Balancing transactions when you have multiple merchant accounts
TEXT INSTRUCTIONS ON HOW TO USE ADVANCED LOAD BALANCING (TRANSACTION ROUTING)
Step 1: Locate the correct gateway account. Go to Advanced Merchant Features and click the Edit button.
Step 2: Click the checkbox next to ‘Enable Advanced Load Balancing interface’ and press save.
![]()
The interface will now be viewable in the merchant’s account under Settings: Load Balancing.
Step 3: To begin setting up specific parameters, login to the gateway account as ‘ADMIN’ User.
Step 4: Click on ‘Settings’ under the ‘Options’ heading from the left hand side’s Main Menu.
Step 5: Click on ‘Merchant Defined Fields’ under the ‘Transaction Options’ heading.
![]()
Step 6: To add a field, click the Paper and pen icon to the right of the first available Merchant Defined Field.
Step 7: Create a Merchant Defined Field using either the ‘Select’ or ‘Radio’ options, and specify a set of values to pass.
Step 8: Navigate to ‘Transaction Routing’ from the ‘Options’ > ‘Settings’ > ‘Transaction Routing’ headings.
Step 9: Inside the newly created Advanced Load Balancing Interface, choose the Merchant Defined Field from the drop down box, specify the value (Case Sensitive), and tell the system what percentage to route to which MID, and click ‘Save’.
*Note: Percentages should be written as 100.00 not 100% or 100. Merchant can put 50.00 in Processor A and 50.00 in Processor B if they want ‘Visa’ to associate with two MIDs. The gateway will balance 50% in each.
