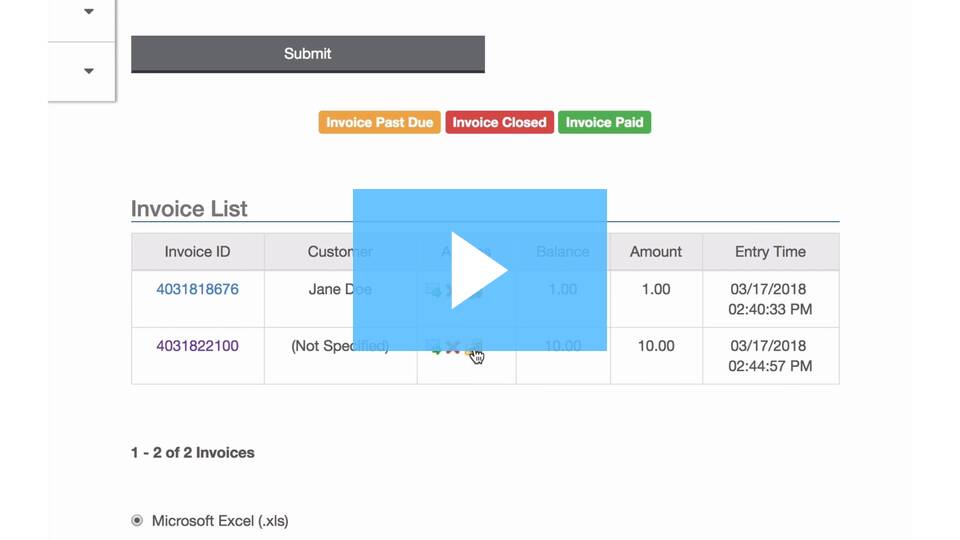
Electronic Invoicing with the Easy Pay Direct Gateway is a simple way to invoice your clients. The Easy Pay Direct Gateway gives you the ability to customize the header, colors and font for your invoices through html editing (which may require a web designers / developer to modify). The post does not cover editing the aesthetics of your invoices but will show you:
HOW TO USE ELECTRONIC INVOICING THROUGH THE EASY PAY DIRECT GATEWAY
Step 1: Login to the gateway account as the ‘ADMIN’ User.
Step 2: Click on ‘Invoice’.
![]()
Step 3: The invoicing service will need to be agreed to and enabled. Click ‘Sign-up’ to proceed.
Step 4: The invoice can be customized with however much information you would like to provide. If you would like to get rid of certain fields entirely, click the settings wrench to the top right of the page.
![]()
Any information you want to exclude from all invoices moving forward, click the red ‘x’ to the right of the field. That will eliminate the field from the invoices on all subsequent invoices.
Once finished, click the disk at the top right to save all changes.
![]()
Step 5: The only required information for the invoice to be created will have a red asterisk * next to it. However, for the purposes of sending an invoice to the customer, filling in the majority of the other fields is a good idea so the customer has all information as to what it is for.
![]()
Step 6: Click ‘Create Invoice’ at the bottom of the form.
![]()
You should also receive an ‘Invoice was created successfully’ message on the next page.
![]()
The invoice will then be emailed to the customer with a link to make the payment and a pdf attachment of the full invoice. See example email below:
