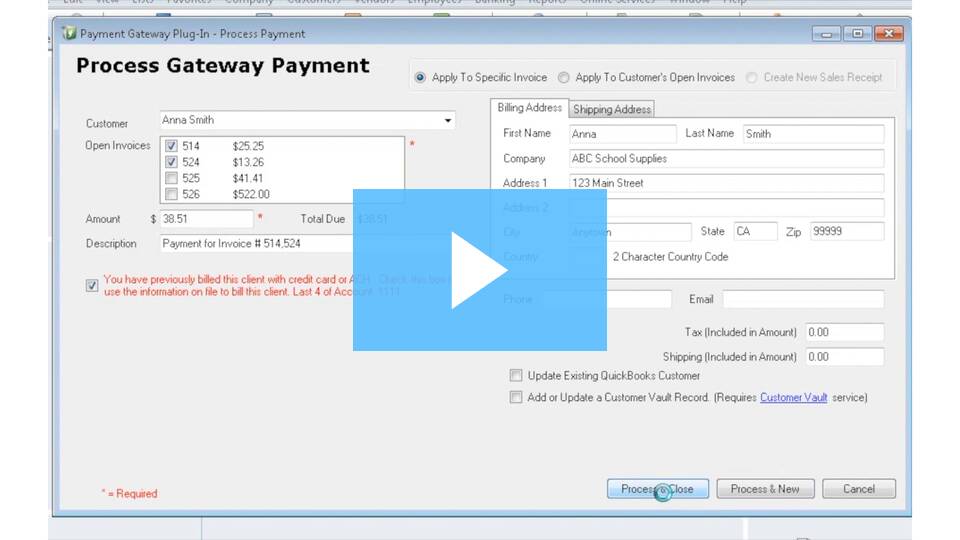
QuickBooks™ SyncPay eliminates double entries and handles the transactions from start to finish. From processing the transaction to creating the appropriate accounting entry to marking the transaction as paid, QuickBooks™ SyncPay will handle it all from within the QuickBooks environment.
HOW DO I EXPORT TRANSACTIONS TO QUICKBOOKS?
Step 1: Login to gateway account as ADMIN.
Step 2: From the ‘Main Menu’, click on ‘QuickBooks™’ under ‘Other Services’.
![]()
Step 3: Click ‘Sign-up’ to proceed.
Step 4: All add-on services require a two-step authorization. Once you have clicked ‘Sign Up’ you will be redirected to an additional page where you will have to authorize and agree one final time.
![]()
Step 5: Enter the date range of settled transactions and click ‘Submit’.
![]()
Step 6: Enter the ‘Revenue Account’ and the ‘Deposit Account’ (these fields are alphanumeric).
![]()
Step 4: All add-on services require a two-step authorization. Once you have clicked ‘Sign Up’ you will be redirected to an additional page where you will have to authorize and agree one final time.
Step 5: Enter the date range of settled transactions and click ‘Submit’.
Step 6: Enter the ‘Revenue Account’ and the ‘Deposit Account’ (these fields are alphanumeric).
